Featuring my thick and nuggy Chonky Boy Chocolate Chip Cookies, these ice cream sandwiches are the stuff that summer dreams are made of. If you've ever had the Cookie Ice Cream Sandwich at Disneyland , you are going to LOVE these! These big and bold chocolate chip cookies are based on a recipe from my culinary school studies at Auguste Escoffier, but with a few modifications to give them that Jennuine touch. They make the perfectas book for a fat slice of real vanilla bean ice cream. And those mini chips? You just gotta have that extra cronch! Thank goodness this recipe only makes 8 sandwiches, otherwise I would be eating them for breakfast lunch and dinner. This way, my big family can help save me from my inner child diet-saboteur. Print With Image Without Image Chonky Boy Chocolate Chip Cookie Ice Cream Sandwiches Yield: 8 Author: Jenn Erickson Loaded with chocolate chips and buttery, brown-sugary vanilla flavor, these mall-sized cookie...
Get link
Facebook
X
Pinterest
Email
Other Apps
Reach for THESE Stars -- Chocolate Dipped Krispie Treat Stars on a Stick
Get link
Facebook
X
Pinterest
Email
Other Apps
-
Whether you're looking for something unique to bring to the school bake sale, feel like its time for a cupcake hiatus, or simply will use any excuse to eat chocolate, these sweet little stars are a fun and easy project you can share with your family.
It's also a great introduction to using Chocolate Transfer Sheets. If you're not familiar with Chocolate Transfer Sheets, they are acetate sheets that are printed with patterns and designs using a special printer and edible ink (made from cocoa butter). They can be purchased in some specialty cake supply stores and all over the internet. My favorite retail source is Fancy Flours. They carry everything from animal & floral prints to political and holiday inspired patterns.
Let's get started!
TIP: If you like the
convenience of Candy Melts, but prefer the taste of real chocolate, try the new
Semi-Sweet Chocolate Callets (65% Cacao) from Trader Joes. They work like a dream!!!
--Rice Krispie Treats: a single
batch of krispie treats will yield around 12 stars
--Star-shaped cookie cutter
--Nonstick cooking spray
--parchment paper
--lollipop or craft sticks
--Good quality chocolate (or Candy Melts
like Wilton): 8 oz. will cover approx. 12 stars
--Chocolate Transfer Sheet (optional):
One large sheet will decorate 10 stars
Step 1: Begin by preparing the
krispie treats. For a single batch, you’ll
need:
½ cup butter or margarine
80
large marshmallows
10
cups krispie cereal
Use non-stick spray to coat the inside of
a 13x9 (or 12x12) baking pan. On a
stovetop or microwave oven (I prefer the microwave), melt butter and
marshmallows. Once melted and combined,
stir in the krispies till evenly coated.
Pour into prepared pan. Using a
greased spatula spread and compact the mixture.
Cool for just a few minutes.
Step 2:
Cut ~ I like to cut the krispies before they have fully set. This way, you can recombine the scraps into a
new block, with which you can continue to cut your shapes. Spray cookie cutter using non-stick cooking
spray (inside and out). Press into
krispie treat (while still in pan), remove from pan, then remove from cutter
and on to a baking sheet lined with parchment paper. Continue until only scraps remain. Combine scraps into a rectangle, the same
height as the original batch, and cut a few more stars. Continue to cut and re-form the scraps until
none remains. Allow stars to cool and
set for at least an hour before commencing with the chocolate.
Step 3:
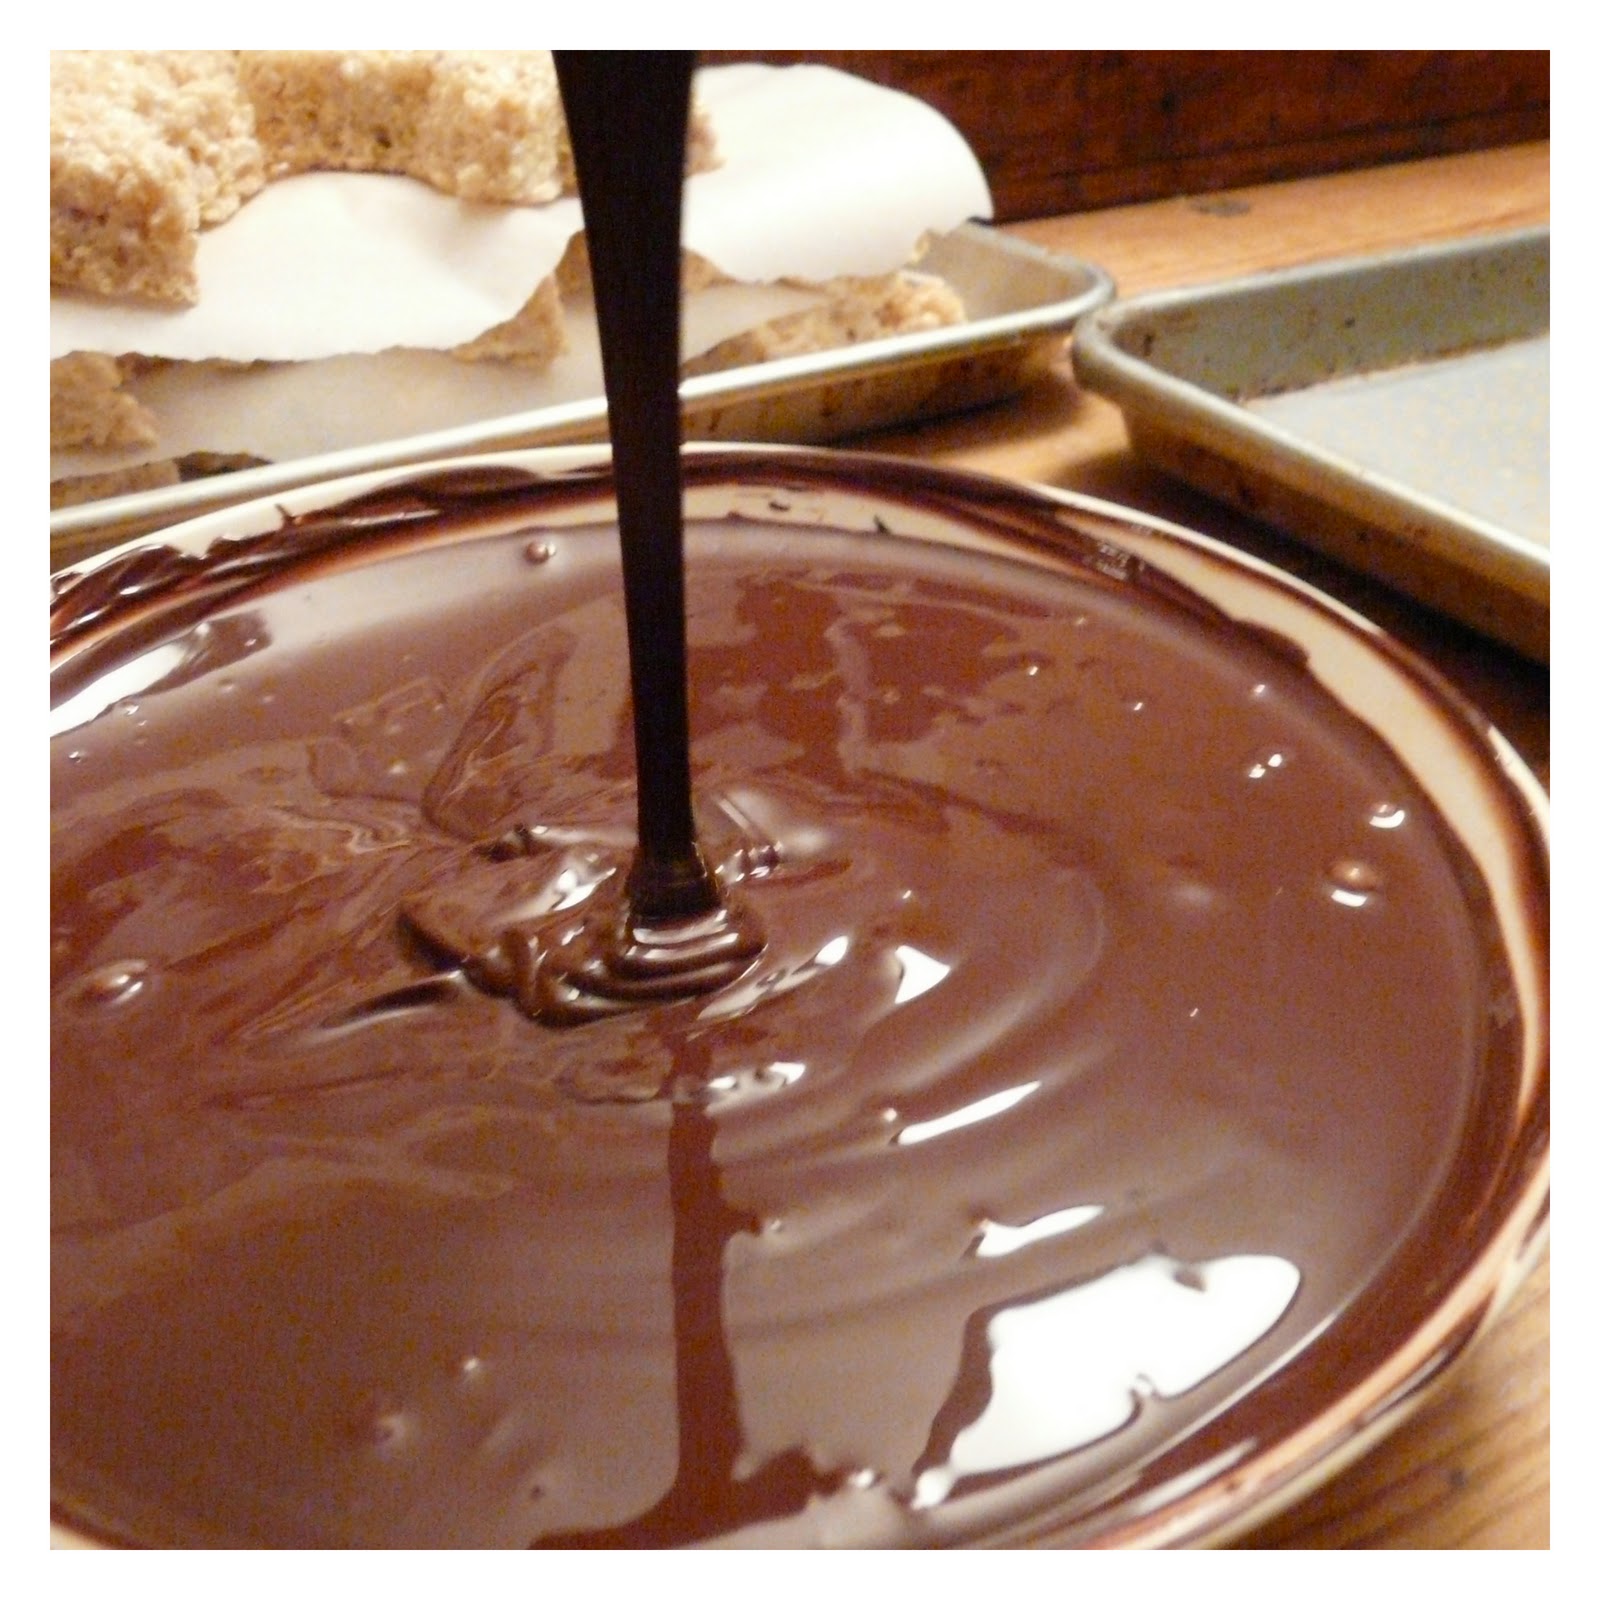
In a shallow bowl, melt chocolate over a double-boiler or in the
microwave, on low heat, in one-minute increments.
Step 4:
If using a chocolate transfer sheet, set the sheet cocoa-side-up on a
baking sheet. If not using a chocolate
transfer sheet, simply line a baking sheet with parchment paper.
Step 5:
Dip krispie star, flat side (the bottom side) down in the
chocolate. Shake off excess. Check bottom to insure that coating is even. If not, dip and shake again. Set on transfer sheet or parchment to
dry. Repeat with remaining stars. Chill in the refrigerator for approx. 10,
until chocolate has completely hardened.
Step 6:
Dip one end of a lollipop or craft stick in the melted chocolate. This will help the stick adhere to the inside
of the treat. Insert stick about mid-way
through the treat.
Step 7:
Package and serve
You can download and print these instructions here:
I packaged my Stars On a Stick in 6"x8" bakery bags, which I printed with the "Reach for the Stars" graphic at home. Here's a downloadable PDF if you'd like to do the same.
I recall, as a child, going to The Chart House restaurant and looking forward to the basket of freshly baked breads. My favorite was always the dark brown, slightly sweet bread that the servers called "Squaw Bread". I've heard that a similar bread is served at The Cheesecake Factory. The name has gone out of fashion, since "squaw" is a derogatory term for a Native American woman. The history of this bread can in fact trace its roots to Native American origins when German pioneers combined their traditional German Brown Bread recipe with ingredients available to them through trades with the native people during their westward travels. No matter how you slice it, this New World German Brown Bread is easy to bake and so wonderfully delicious to eat. Print With Image Without Image New World German Brown Bread Yield: 1 large loaf Author: Jenn Erickson Prep time: 1 H & 50 M Cook time: 45 M Total time: 1 ...
With the Christmas tree curbside, and the ornaments all neatly packed away, I'm thankful for my small collection of winter decorations that can be left out a bit longer to grace my home with their snowy sparkle and winter whimsy. I would have loved to have had the time to share this sweet little tutorial earlier in the season, but the holidays were busy (as they always are). Now that things have slowed down, this may be, perhaps the best time of all to fix yourself a mug of cocoa or coffee and enjoy the process of creating a vintage style paper mache snowman at your leisure. He is sure to bring smiles to all that behold him, all winter long! This is the snowman that my 7-year old made. The real stick arms were her wonderful idea! This is a fun project t o do with children as well. The process is very simple , versatile, and inexpensive. The fram e for the figure is ma de from aluminum foil which can be worked into the shape of characters for any occas...
When I was a kid, my favorite board game was CLUE . I loved the mystery, the intrigue and taking on the role of amateur sleuth. I've passed my love of the game down to my two girls, and I was excited when my youngest expressed an interest in having a CLUE party for her birthday this year. Here's what we did: The Invitations To set a dramatic tone for the party, I created invitations inspired by the playing cards from the original board game. The invitations came in two parts -- a Character Card that introduced the character assigned to the guest and a Party Card that included all the details for the party. To further link the party to the game, we glued a weapon piece from the board game to each party card (which we were able to purchase as a lot from Ebay). You can download the invitations for free below: Party Card, side A Party Card, side B * I created a mystery party experience that was child-friendly, and the kids ...