I'm as big of a fan of the red and white Santa cap as the jolly old man himself, but if you're looking for something new, I have a fun and easy hat project to make for your caroling group, scout troop, or merry gathering.
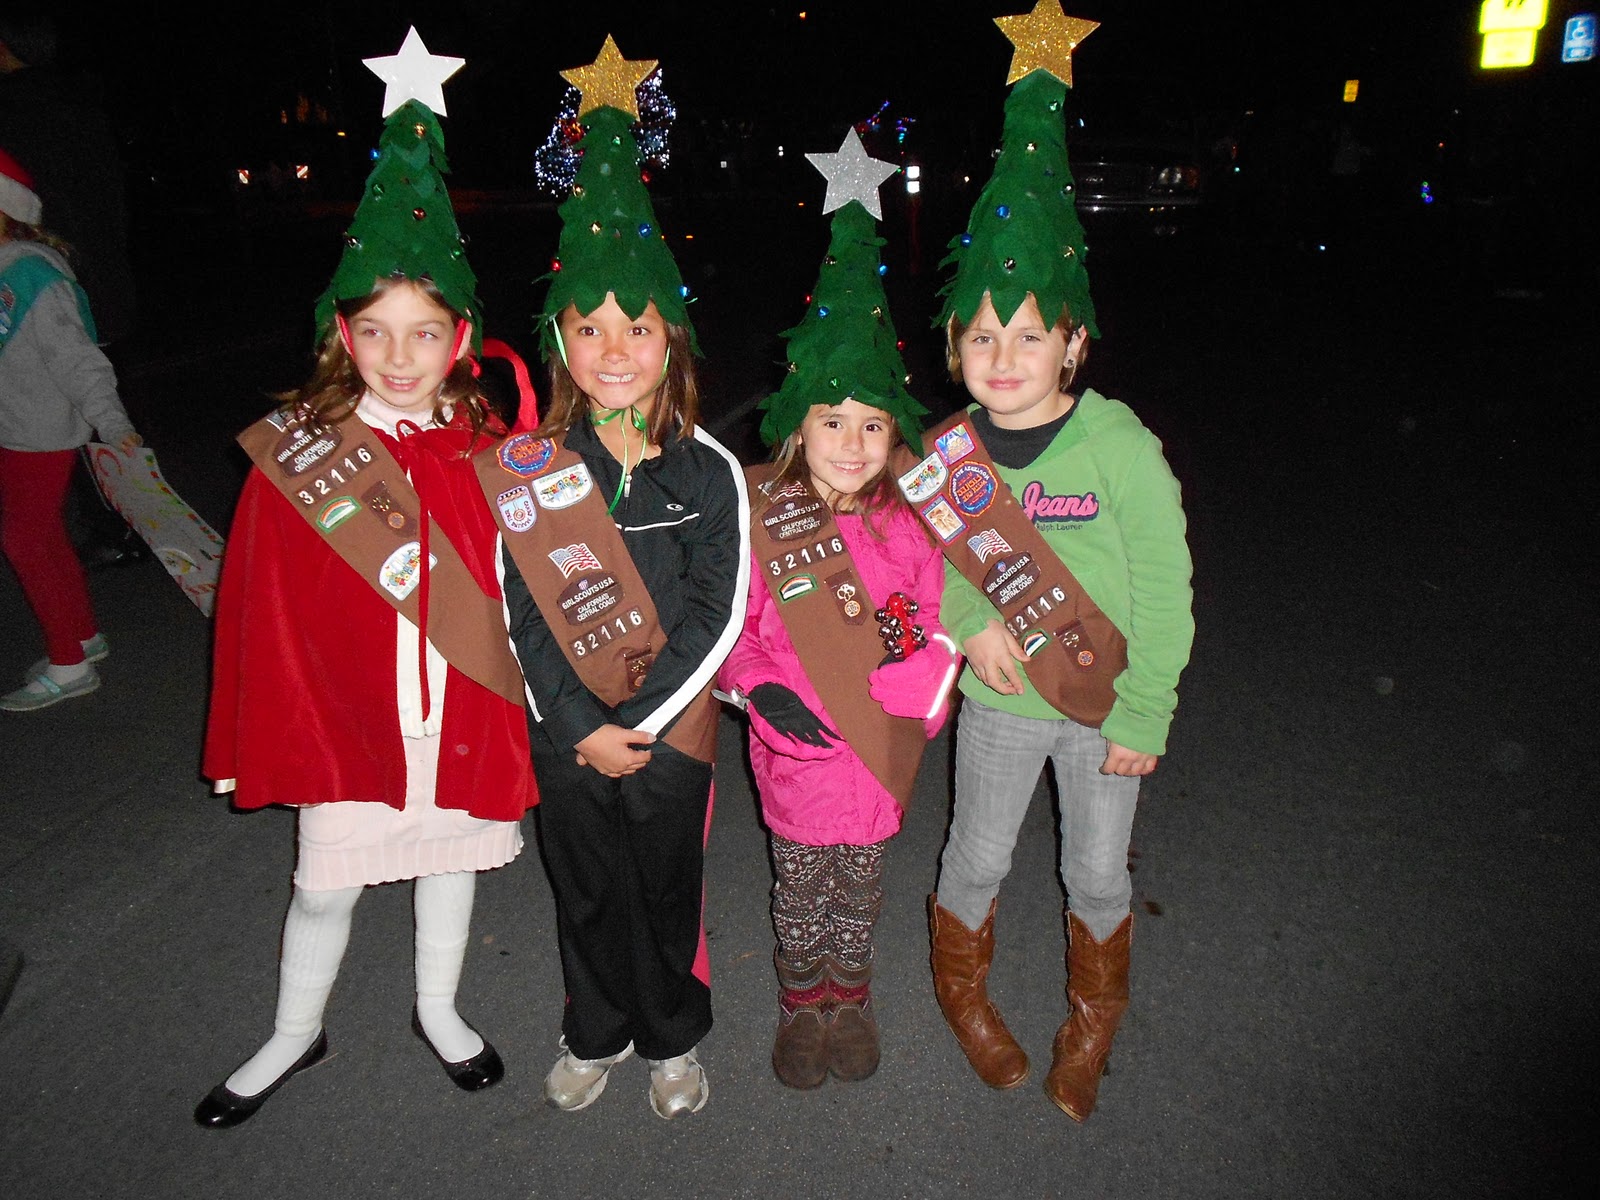
My daughter's Brownie troop marches in our town's Holiday Parade of Lights every year. Oh, we had some pretty grand plans when we started talking about it back in August, but then school started, moms went back in to the workforce, life got busy, and suddenly it was the week of the parade! Thank goodness Jellyfish Jelly - Creative Kids linked-up the Crepe Paper Christmas Tree Hat on "A Little Birdie Told Me..." that week.
I adapted the project to withstand the coastal fog and the rough-and-tumble group of girls by using felt rather than crepe paper. To add a little festive "jingle" as the girls marched in the parade, we used colorful jingle bells in the place of sequins. The girls had fun putting together the hats at their Brownie meeting, and were gratified with compliment after compliment at the parade. The beauty of these hats is that they can be used as a charming Christmas Tree decoration when they're not being worn.
Here's how to get in the spirit with a Christmas Tree Elf hat of your own:
THE CHRISTMAS TREE ELF HAT
Cost: Approx. $5
Time: Approx. 30 minutes
1 Large Party hat from the dollar store
(you can also roll a piece of poster board into a cone shape).
Leaf template, 3 sizes, download free below
Green Felt
Scissors
Tacky Glue or Glue Gun
18 jingle bells
2 large glittered foam stars (Michael's)
1 piece of ribbon or elastic
1) Remove the metallic fringe from the party hat. I like to use the Dollar Tree hats because they're pre-made and have a nice metallic background that looks great if you accidentally have a few gaps in your "leaves". Remove the elastic. You'll replace it later with something less flimsy.
2) Print and cut out the leaf templates. We found that if you have a good pair of scissors, and cut felt rectangles slightly bigger than the template being cut, you can cut through 3-4 leaves at a time. Here's what you'll need to complete a single hat: (68) Large, (9) Medium, (3) small
(Click to visit a downloadable version)
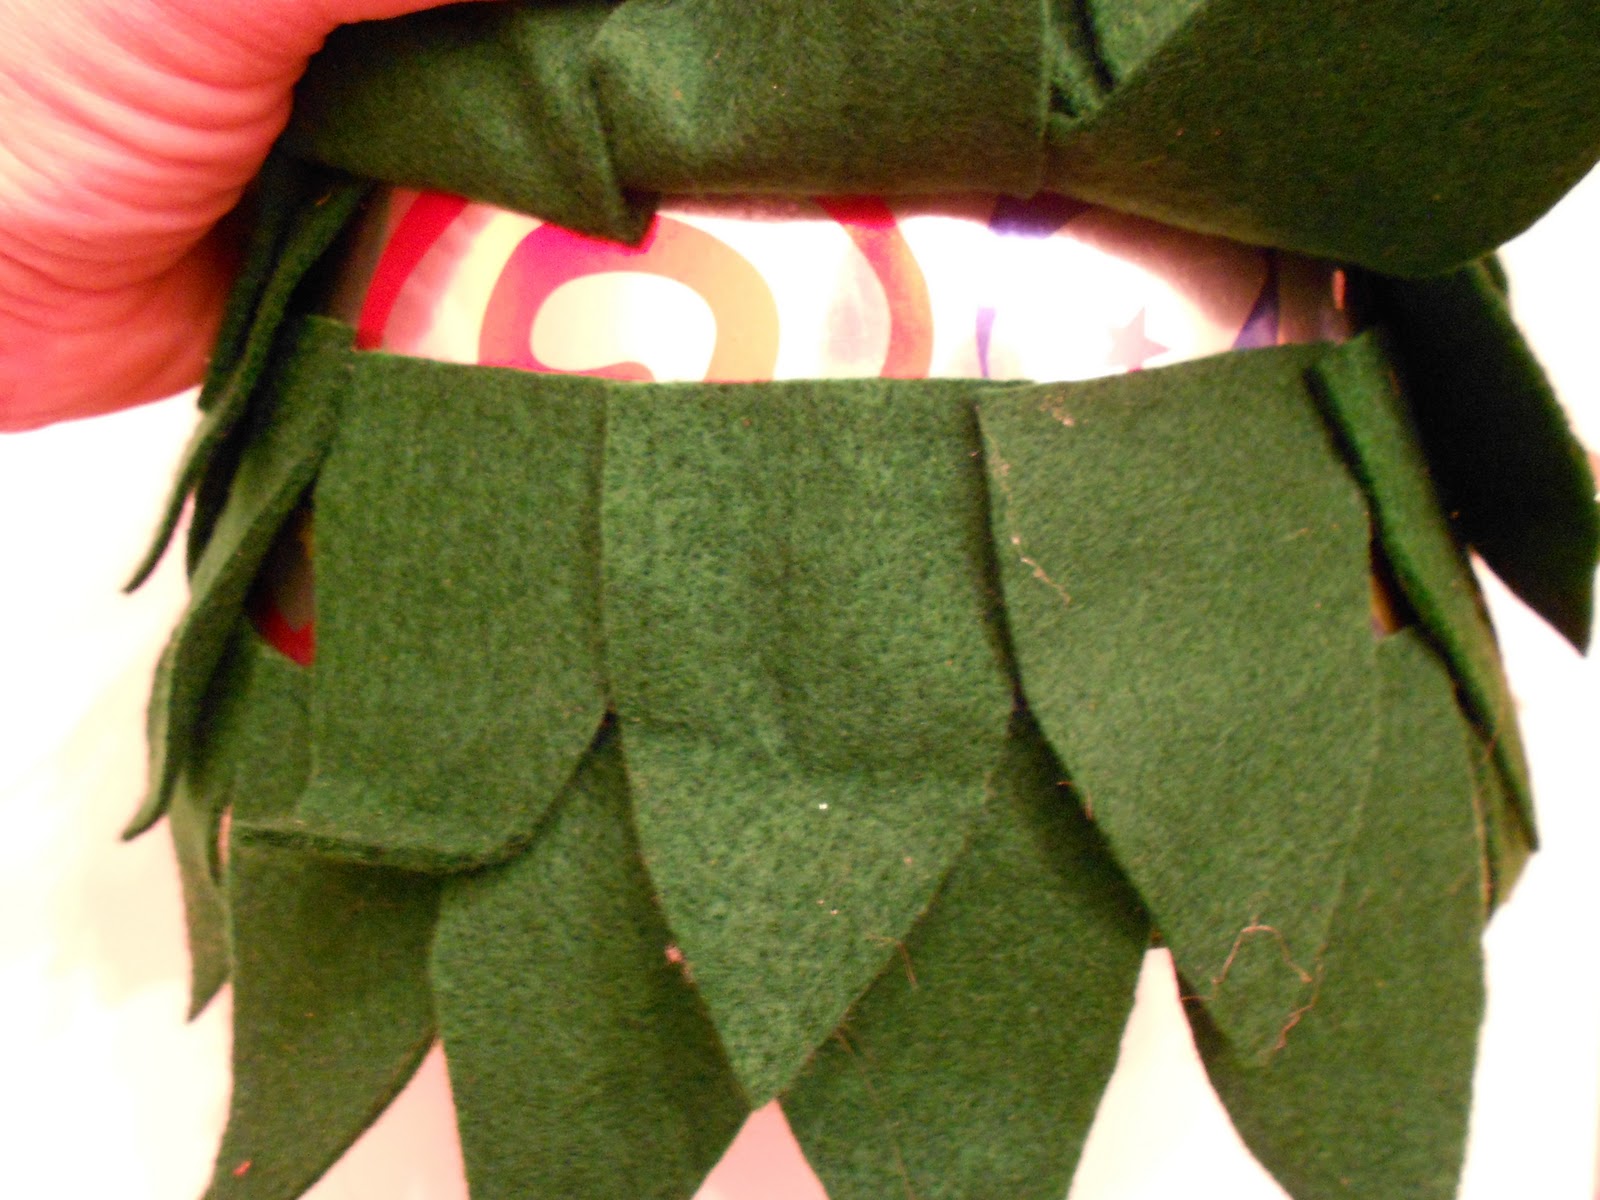
3) Glue large petals, one at a time around the base, by running a line of glue along the flat end of the leaf and placing so that half of the leaf hangs below the brim. This first row of leaves should touch, but not overlap.
4) Glue next row in to place, starting by placing one Large leaf, centered above where two bottom leaves meet. The middle of the leaf should hit the line formed by the top edge of the first row. Continue adding leaves all the way around, slightly overlapping the corners as you go.
5) Continue adding Large leaves and rows until you've run out of Large leaves. Continue with Medium leaves and finish up with Small.
6) Use tacky glue to attach the two glittered foam stars together so that the glittered sides are facing out. While glue is still wet, put a dab of hot glue on the top of the felt tree, and slip the star over so that it encases the tip (about 1/2") between the two foam stars. You may want to peek inside the hat to see where the holes are for the elastic, and line the star up so that the star faces front when worn.
7) Use hot glue to attach jingle bells to the tips of leaves, randomly throughout the tree.
8) Thread ribbon or elastic through the pre-made holes to fit the wearer and tie off.
 |
Peace out... |
--------------------------------------
This post has been linked-up with