This sweet little bird is sending tidings of love your way.
As part of the 14 Days of Crafting Love party hosted by Jojo & Eloise, I'm pleased to be sharing my tutorial for Par Avion Messenger Bird Valentine Cards. I hope you'll forgive the pun, but with the elegant look and feel of the watercolor paper, the romantic blend of vintage ephemera, soft pink, and just a bit of sparkle, these beautiful little cards are truly First Class.
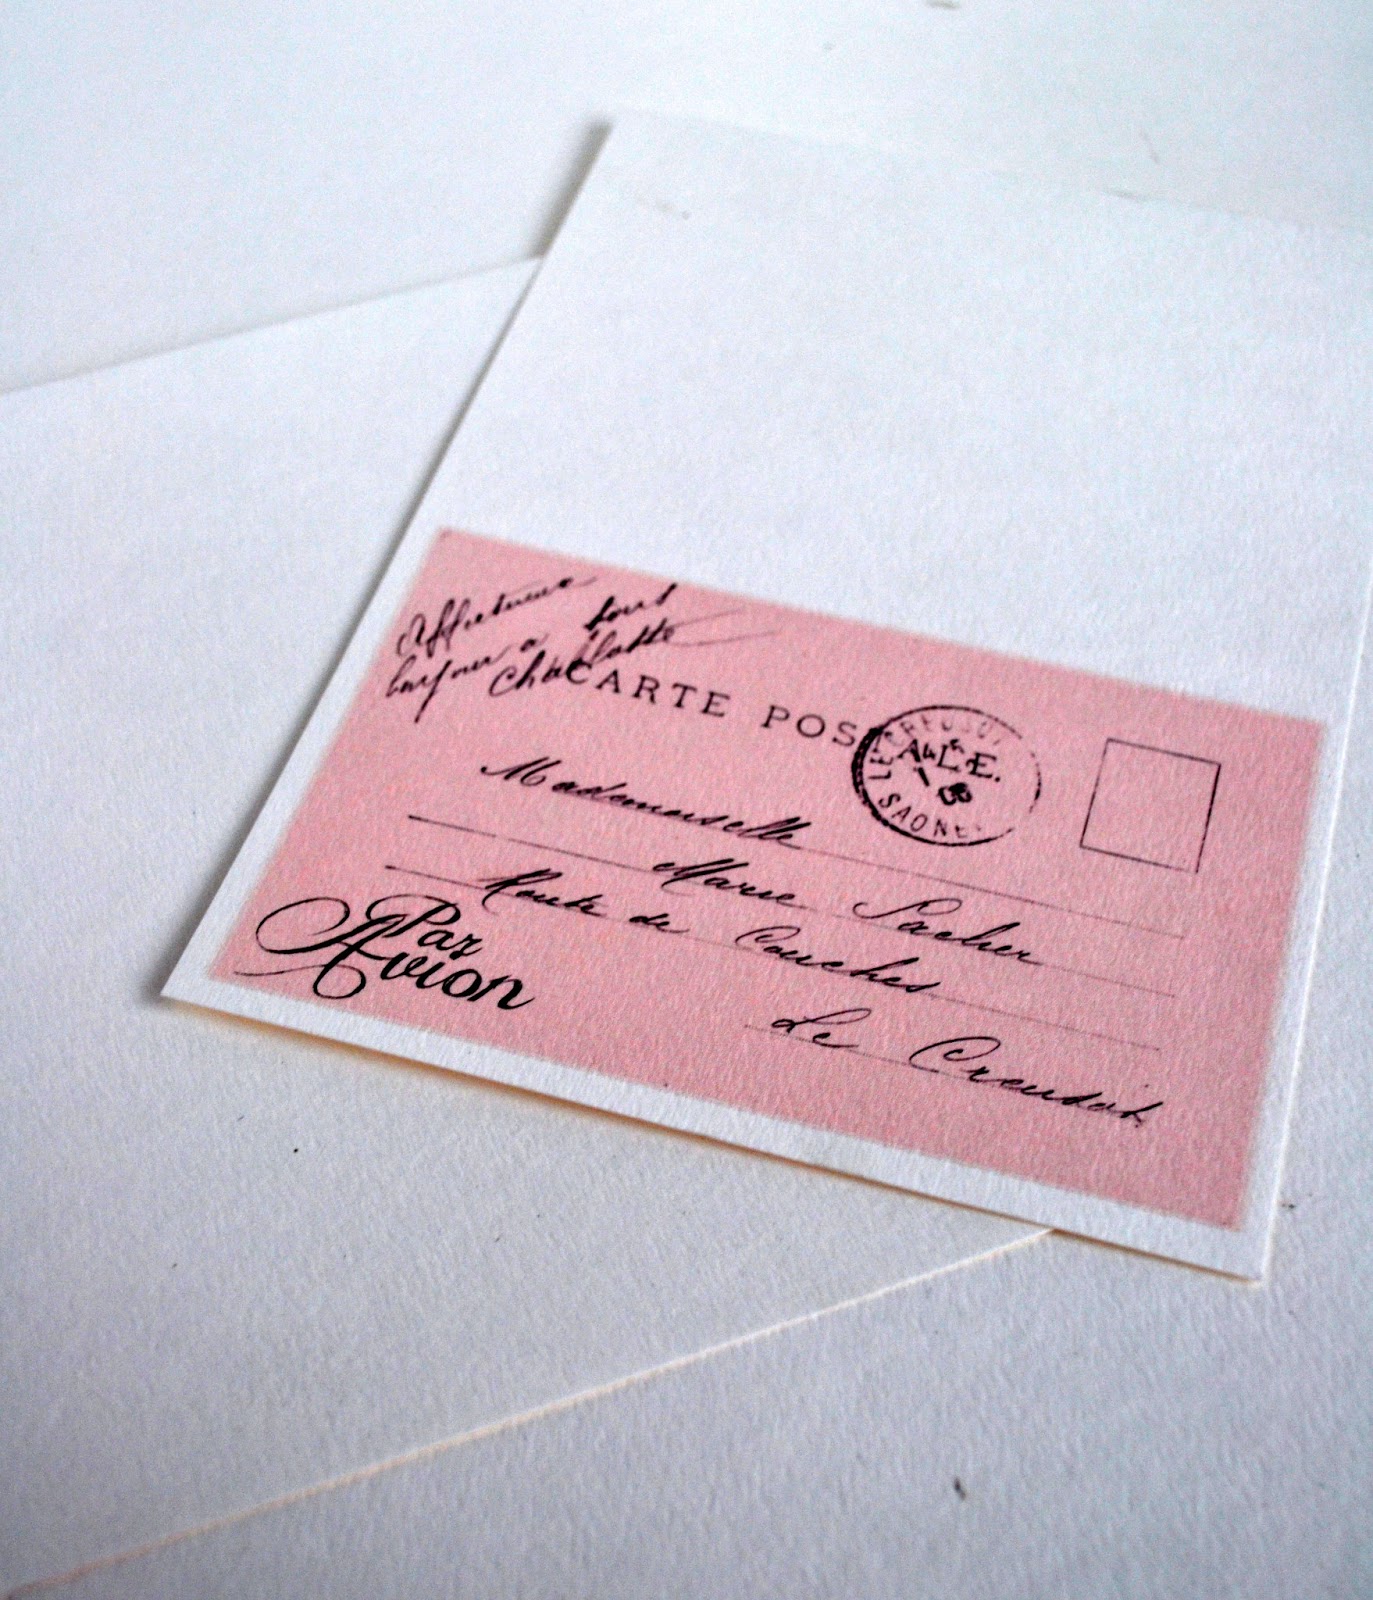
Par Avion Messenger Bird Valentine Cards
Tools & Materials
Book pages (Cut down to 5" x 7.5")
Scissors
Watercolor Paper (Cut down to 6.5" x 9")
Bone folder (optional, but makes folding the paper easier and crisper)
Extra Strength Glue Stick
Vellum or paper of your choice for mini envelope
Paper of your choice for the note
Pencil
Small glue dots
Ultrafine glitter
Templates/Printables:
Step 1: Download all three templates listed above.
Step 2: Print the postcard background on the watercolor paper using the "fast" or "draft" setting of your printer and with the paper loaded so that the image is printed on the more textured side. Fold in half and crease the fold with a bone folder.
Step 3: Print the bird image on the book paper, then cut out tightly around the outline.
Step 4: Coat the entire back of the bird with extra strength glue stick, except for the beak. Press into place on the card.
Step 5: Print mini envelope template (I prefer cardstock), then trim. Trace template on vellum or paper of your choice with a pencil. Cut out. Erase pencil marks. Fold sides of envelope inward. Put a dab of glue stick on the right and left flaps. Fold up the bottom flap.
Step 6: Write or print a small love note and tuck inside the envelope. Fold the top flap down. Fix in place by pressing the point of the top flap against a small glue dot. The glue dot should peel off the roll and on to the envelope. Press the glue dot into a small pile of glitter. Blow off excess. Affix another glue dot on the back of the envelope and tuck in place under the paper bird's beak.
Tips & Resources
(not paid or sponsored)
BOOK PAGES: I like to use old hardbound copies of the Reader's Digest. I can usually find them at thrift stores for around a quarter each. The covers can be repurposed into journals (see tutorial HERE), and then I have plenty of book pages on hand for crafting.
WATERCOLOR PAPER: I purchase Strathmore Watercolor paper (300 Series) bound in a 18x24" pad. It gives me the ability to cut pieces down to size for many types of projects.
PRINTER: I love my Canon Pixma iX6520. It handles custom sizes so beautifully.
SCISSORS: I recommend a small pair of precision scissors for cutting out the birds. My two favorites are the X-ACTO 5" Precision Tip Scissors and the EK Success Titanium Scissors.
GLUE STICK: My favorite glue stick for paper crafting is the Extra Strength Glue Stick from Elmer's Craft Bond.
GLUE DOTS: I love Elmer's Craft Bond Glue Spots (Thin Mini, Permanent Bond).
For more Valentine inspiration, visit: