The New Year is nearly upon us.
Here's a festive little project
for a mini spin drum ~
The perfect noise maker
to help usher in the new year.
We made ours with odds and ends from around the house -- a cardboard tube, a paper lunch sack, some silver string, glitter, glue and a handful of beads. Round up some supplies from around your house and follow the directions below to add some joyful noise to your New Year's celebration!
New Year Noise Maker
Mini Spin Drum
Makes 4
- 1 cardboard tube cut into 4 1" rings
- 1 paper lunch bag
- a pencil and scissors
- Mod Podge and a paintbrush
- 4 12" lengths of string or twine
- 4 1/4" wood dowels
- Paint (I used silver spray paint)
- 8 beads
- A glue gun or tacky glue
- 8 print-outs of the New Year Watch Face (download below)
- Glitter
- Small hole punch or awl
Step 1: Use a small hole punch or awl to punch a hole in each cardboard ring. I used a small hole punch, then used my pencil to slightly enlarge the hole. Insert dowel as shown below. Punch a hole on both sides of each cardboard ring as shown below.
Step 2: Tie a 12" length of string or twine around the middle of each dowel as shown below. I used a doubled-up piece of silver twine. Thread the ends through the holes on either side of the cardboard rings. Use a dab of hot glue or tacky glue to attach the top of the dowel to the cardboard.
Step 3: Use a pencil to trace the shape of the cardboard ring on to the paper bag four times. The bag has two sides, so you will get two pieces per cut. Cut around each pencil line, leaving about a 1/2" border. Then, fringe-cut around traced circle, being careful not to cut over the pencil line.
Step 4: Brush one paper circle with Mod Podge. Set in place on top of one of the cardboard rings. Push down the fringed tabs to set in place. Smooth out any wrinkles. Repeat on the second side. Cover entire drum with a coat of Mod Podge.
Step 5: Once Mod Podge has completely dried, paint the drum and the dowel. Set aside to dry.
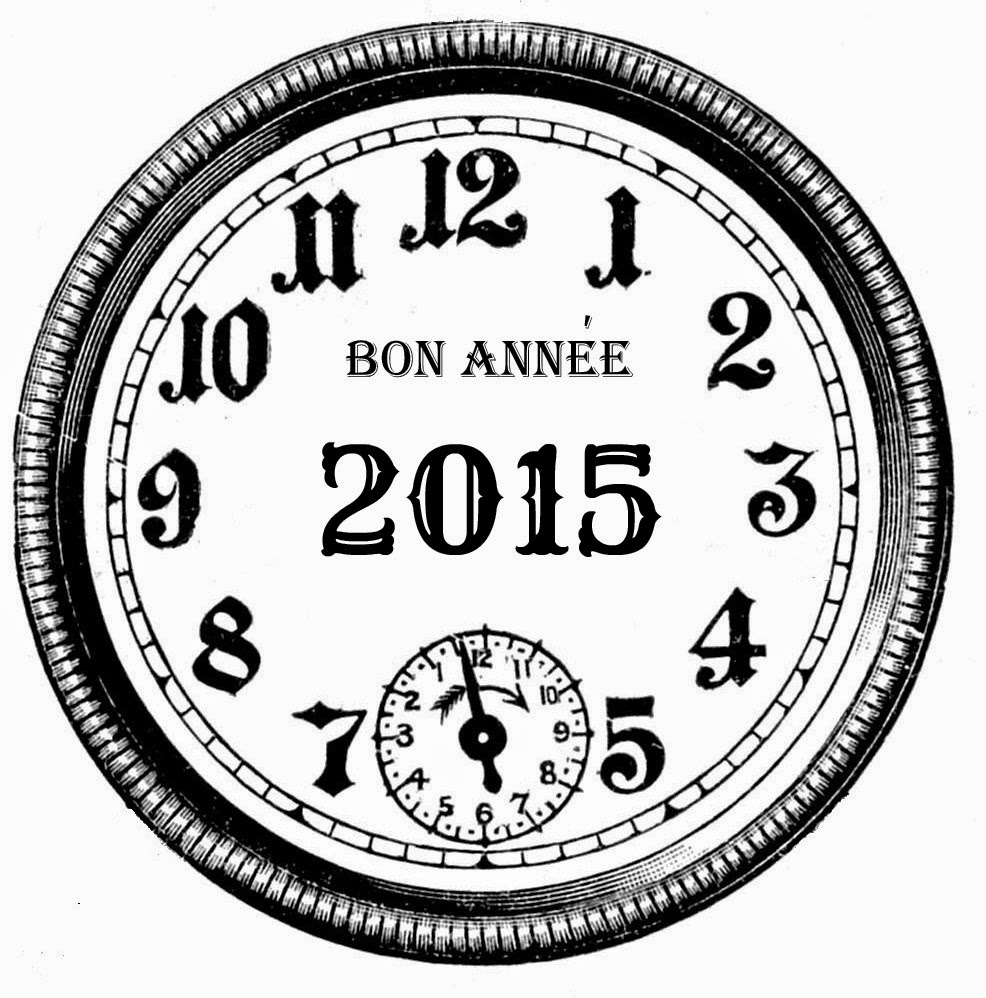
Step 6: Print out the clock faces. I used a sheet of inexpensive photo paper for a nice shine and to make sure the ink didn't bleed. You can download a sheet of clock faces HERE*.
----------------
If you are need a different size of the New Year Clock or want to use it for another project, here's a single image you can download and use:
----------------
Cut out the clock faces. Apply a coat of Modge Podge to one face of the drum. Set a clock face in place. Mod Podge over the clock face to seal. Repeat with the remaining drum sides.
Step 7: When faces are dry, coat the outside rim of each drum with Mod Podge, then cover with glitter. Tap off excess and set aside to dry.
Step 8: Tie a knot in each side of the string, about 1.5" out from the side of the drum. Thread on a bead, then tie another knot. Trim the remaining string.
Time to celebrate!
Credits:
- I created the New Year Clock Face graphic from an original found at The Graphics Fairy.
- This project was inspired by the oatmeal can spin drum on Spoonful.