Any chef will tell you that the key to good cooking
is starting with good, fresh ingredients.
The same could be said of crafting:
Using quality tools and supplies is essential.
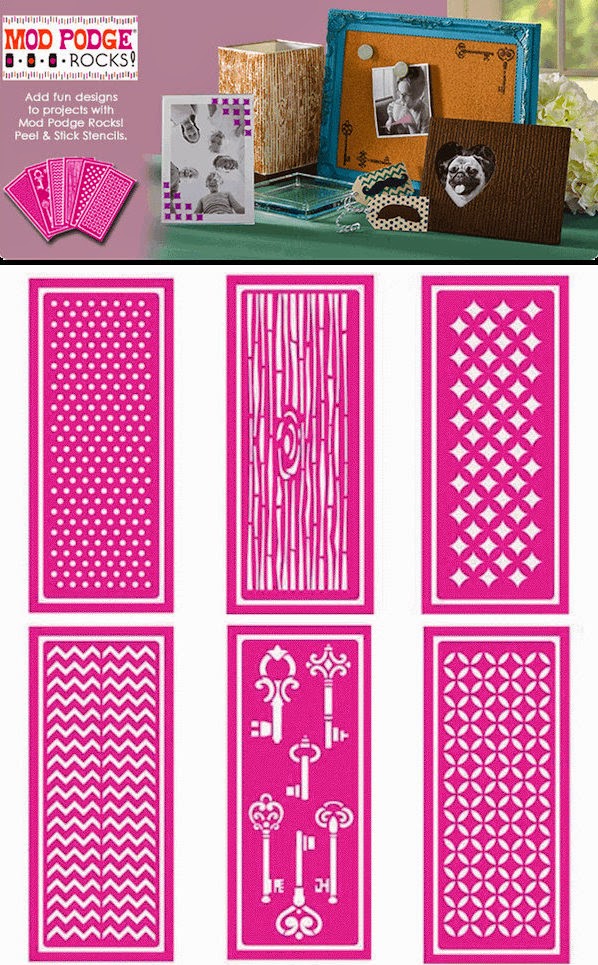
Recently, craft-maven Amy Anderson of Mod Podge Rocks! introduced a line of peel and stick stencils from Plaid. These easy-to-use, re-useable, self-adhesive stencils are the key to adding artful touches to your craft projects in a snap!
 |
| The stencils work beautifully for glass etching. |
They can be used with:
- Mod Podge and glitter to create glittered designs
- Etching cream on glassware
- Glass/Ceramic paint to embellish glass
- Acrylic paint and much more!
You've likely seen dozens of tutorials out there for embellishing plain ceramicware and glassware. Rather than re-invent the wheel, today's post is all about selecting the right tools for professional-looking custom dinnerware in as few steps, and with as little room for error as possible. This method is perfect for beginners.
Customizing your dishes, mugs, glasses or bowls with Mod Podge Rocks! Peel and Stick Stencils requires only 3 tools: The stencil, the paint, and a foam brush. Best of all, it takes only about a minute to stencil a piece, so you can embellish an entire dinner service for eight in less than 20 minutes. Ready to get started?
Materials
- 1 Mod Podge Rocks! Peel and Stick Stencil*
- A glass or ceramic surface
- Opaque Gloss Glass Paint (Food and Upper-rack dishwasher safe)
- A foam brush or spouncer (pictured below)
- A dish, platter, mug, bowl, etc.
Step 1: Make sure that the surface where you will be applying the stencil is clean. Peel stencil from the acetate backing and apply to the surface where you will painting. Make sure that stencil has no gaps or air bubbles.
Step 2: Use foam brush or spouncer to dab paint over the stencil. Wait 1 minute to allow paint to settle.
Step 3: Gently peel off the stencil. Follow manufacturer's directions on the paint for oven or air curing. Rinse stencil. Pat dry. Repeat if desired.
Tip: To remove any smudges or streaks, remove the cotton from one end of a cotton swab. Moisten slightly. Then use to clean up any fine details.
These craft supplies were the key to my success in this project:
* I received one key-motif stencil from Amy for the purpose of review. This is not a sponsored post.