Featuring my thick and nuggy Chonky Boy Chocolate Chip Cookies, these ice cream sandwiches are the stuff that summer dreams are made of. If you've ever had the Cookie Ice Cream Sandwich at Disneyland , you are going to LOVE these! These big and bold chocolate chip cookies are based on a recipe from my culinary school studies at Auguste Escoffier, but with a few modifications to give them that Jennuine touch. They make the perfectas book for a fat slice of real vanilla bean ice cream. And those mini chips? You just gotta have that extra cronch! Thank goodness this recipe only makes 8 sandwiches, otherwise I would be eating them for breakfast lunch and dinner. This way, my big family can help save me from my inner child diet-saboteur. Print With Image Without Image Chonky Boy Chocolate Chip Cookie Ice Cream Sandwiches Yield: 8 Author: Jenn Erickson Loaded with chocolate chips and buttery, brown-sugary vanilla flavor, these mall-sized cookie...
Get link
Facebook
X
Pinterest
Email
Other Apps
The Perfect Chocolate Chip Cookie Recipe
Get link
Facebook
X
Pinterest
Email
Other Apps
-
There are about as many different chocolate chip cookie recipes out there as there are definitions for what makes a chocolate chip cookie perfect. It all comes down to personal taste. As a person who isn't wildly into sweets, I'm very particular about my chocolate chip cookies. To me, the perfect chocolate chip cookie is loaded, but not-overloaded with chocolate. The sweet and salty balance is in perfect harmony. The edges are brown and crispy, but the middle is soft and chewy. If the cookies manage to last more than a few days, they retain their perfection chew and textures.
After decades of trying every recipe we could find, in pursuit of "perfection", my husband and I feel that we've finally come up with a formula that is everything we've been looking for. Actually, he gets all the credit. I was just the taste tester.
Our recipe is a riff on the recipe found on the back of Guittard chocolate chips. Of course, quality chocolate makes a huge difference and as far as grocery-store brands, Guittard is our favorite (Ghiradelli is good too!).
Baking, as all good bakers know, is a science. A good recipe, even a simple one like chocolate chip cookies, has been carefully balanced and tested. The "science experiment" if followed carefully should yield the same results in any environment.
We hope you enjoy our "formula" as much as we have!
The Jennuine Chocolate Chip Cookie
Yield: 24 Large Cookies
Author: Jenn Erickson
Prep time: 16 MCook time: 24 MTotal time: 40 M
To me, the perfect chocolate chip cookie is loaded, but not-overloaded with chocolate. The sweet and salty balance is in perfect harmony. The edges are brown and crispy, but the middle is soft and chewy. If the cookies manage to last more than a few days, they retain their perfection chew and textures. You'll find that cookie here.
Ingredients:
2 1/2 cups unsifted all-purpose flour
1 teaspoon baking soda
1 1/2 teaspoons table salt
1 cup butter -- two sticks -- (we use salted butter for this recipe), softened (room-temp)
3/4 cup organic sugar (the unprocessed sugar yields a more tender cookie)
3/4 cup firmly packed dark brown sugar
2 large eggs
2 teaspoons vanilla extract
1 cup Guittard Real Semisweet Chocolate Chips
1 cup Guittard Extra Dark Chocolate Chips
1 cup chopped walnuts, pecans, or coconut
Instructions:
Preheat oven to 350 F
In a small bowl, whisk together the flour, baking soda and salt. Set aside.
In the bowl of a stand mixer, cream the butter and sugars until light -- at least 5 minutes. You are creating air and melting the sugars at the same time. This is the key to the texture of these cookies.
Add the eggs and vanilla and beat for another 3 minutes.
Add half of the flour mixture and beat on low till combined.
Add the second half of the flour mixture and beat on low until just combined.
Add the chocolate chips, coconut, walnuts or pecans and stir until just combined.
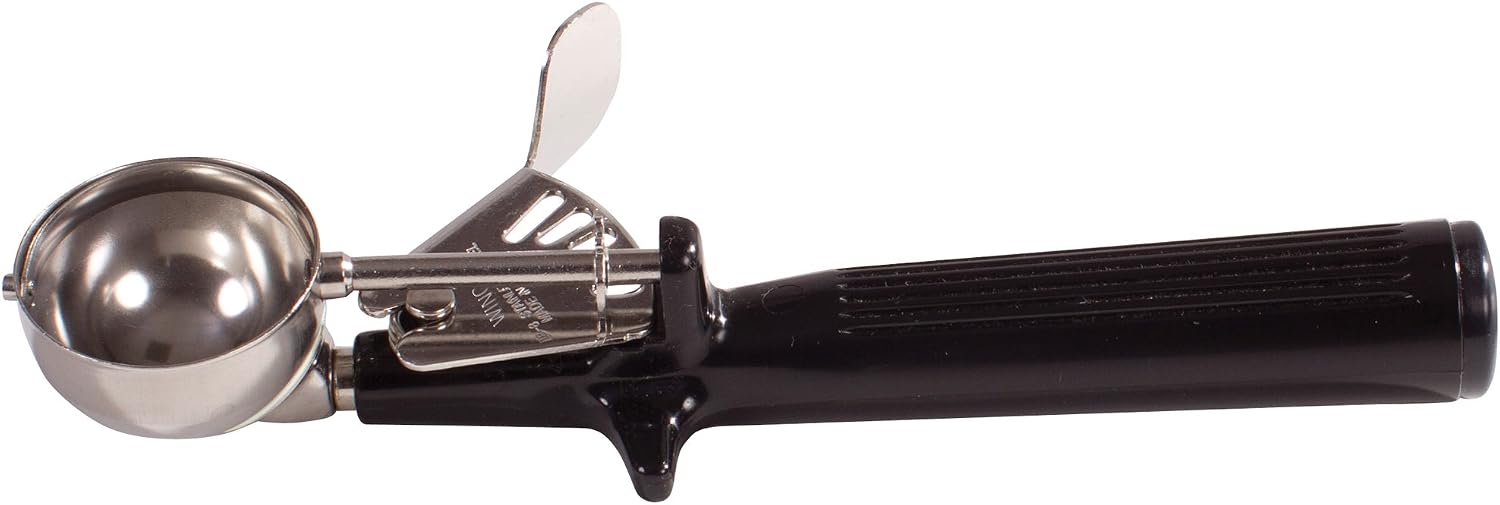
Use a portion scoop (#30, 2.13 Tablespoons) and arrange 8-to-a-sheet on a parchment lined baking sheet. Repeat with a second baking sheet.
Bake, with pans on the center two racks of oven for 6 minutes. After 6 minutes, swap the position of the pans and continue baking for another 6 minutes.
Remove from oven. The cookies SHOULD look slightly undercooked.
Let the cookies cool on the pan for 6 minutes before removing to a cooling rack to finish cooling.
Repeat with remaining dough (you should have enough dough left for two more pans)
When the cookies come out of the oven, they'll look undercooked in the middle
Baking Troubleshooting
1) Eggs -- When a recipe says "large", use large. Any other size will throw off the formula.
2) Baking Soda -- make sure it is fresh. If it's too old, it may no longer be active.
3) Measuring -- When you measure, make sure the measuring cup or spoon is filled and leveled with the rim. Don't under or over measure.
4) Measuring -- Use dry measuring cups for dry ingredients, so you can level off the top. NEVER measure dry ingredients in liquid measuring cups (the ones with the spout -- this makes it impossible for you to get an accurate measurement and again, your formula is off).
5) Temperature -- If you live in a very warm climate, the ambient temperature in your kitchen may not be ideal for baking. If it seems like your batter is too soft -- almost melty -- it means your kitchen is too warm. Simply refrigerate your dough for a bit until it firms up.
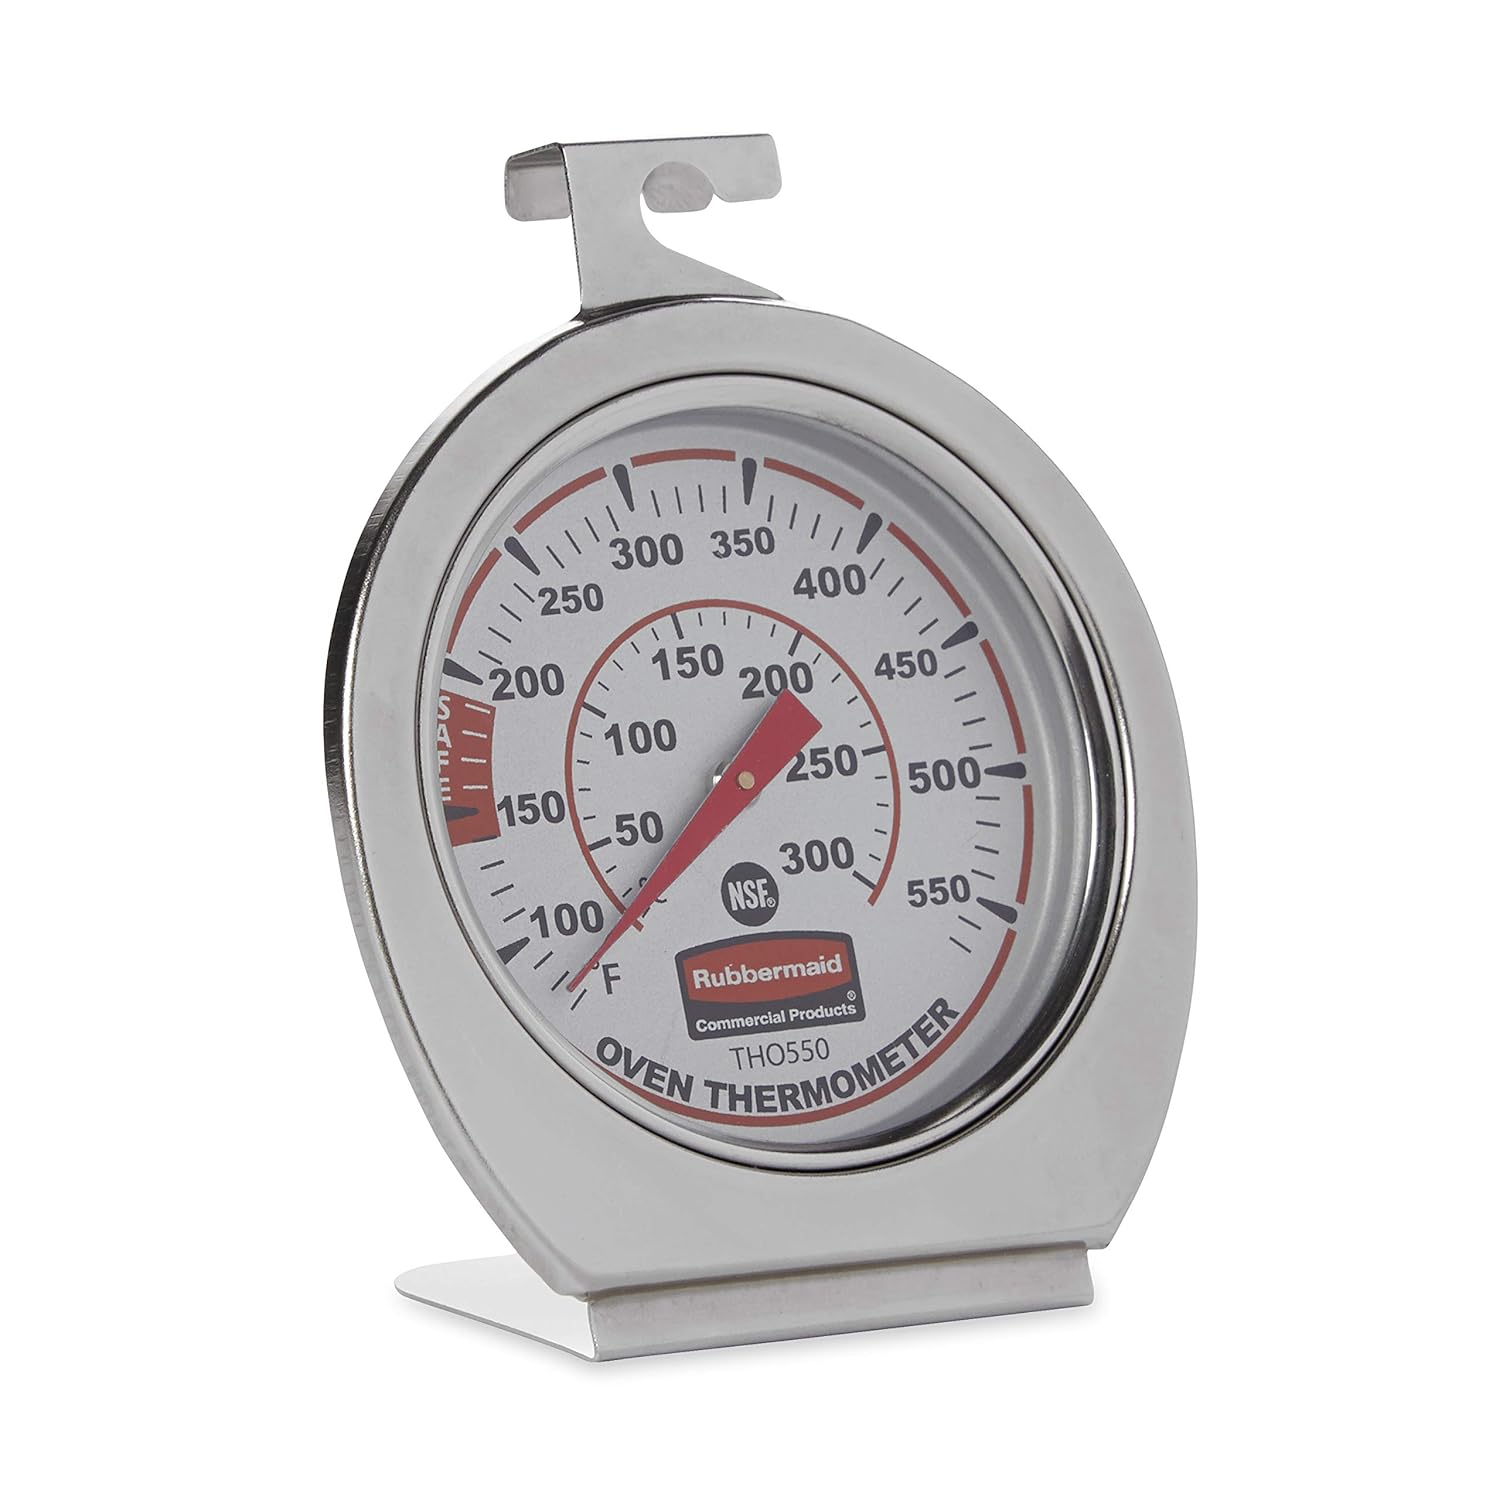
6) Temperature -- You follow the recipe to the letter, but your cookies still burn or are very undercooked. What happened? All ovens are different, and most, as they get older, no longer hold true to the temperature they report. I always recommend a simple oven thermometer so you can check the true temperature of your oven every time.
7) Overbeating -- As long as your ambient kitchen temperature isn't blazing hot, it's hard to overbeat the batter when it's just butter and sugars. However, once you add the flour, you have to be careful. Overbeating flour can cause tough and dry cookies. Once the flour is in, beat as minimally as possible.
Questions
Q: Can I use regular granulated sugar?
A: Yes. The organic sugar has slightly more moisture and a slightly deeper flavor, but the difference is not so great that it will make these cookies any less awesome.
Q: Do I have to use semisweet and ultra-dark chocolate?
A: No. You can use 2 cups of any chocolate chips you want. You can really shake it up with some white chocolate chips, semi-sweet chips, coconut and macadamia nuts! Customize, just keep the proportions the same as the formula (12 ounces total, or 6 ounces each when mixing two varieties).
Q: Why salted butter? I thought it was better to bake with unsalted.
A: Generally I like to bake with unsalted. However, salted butter in THIS recipe yields a perfect balance of sweet to salty that makes the cookies so perfect!
Q: I don't have a stand mixer. Can I use a hand mixer.
A: Yes.
Q: How long will these keep?
A: Good luck with that. They shouldn't last, unconsumed for long. But, if you have self-discipline, you can keep these cookies in an airtight container for up to a week and they will taste as fresh and lovely as the day you made them. Or, you can freeze them and save a few for a rainy day.
I recall, as a child, going to The Chart House restaurant and looking forward to the basket of freshly baked breads. My favorite was always the dark brown, slightly sweet bread that the servers called "Squaw Bread". I've heard that a similar bread is served at The Cheesecake Factory. The name has gone out of fashion, since "squaw" is a derogatory term for a Native American woman. The history of this bread can in fact trace its roots to Native American origins when German pioneers combined their traditional German Brown Bread recipe with ingredients available to them through trades with the native people during their westward travels. No matter how you slice it, this New World German Brown Bread is easy to bake and so wonderfully delicious to eat. Print With Image Without Image New World German Brown Bread Yield: 1 large loaf Author: Jenn Erickson Prep time: 1 H & 50 M Cook time: 45 M Total time: 1 ...
Here's to Summer with a perfect cocktail to toast the end of the school year -- A Honeysuckle Rose Gin & Tonic. A touch of homemade honeysuckle-lemon simple syrup and honeysuckle infused gin (or vodka if you prefer) make for a delightful twist on the classic! If you prefer a vodka tonic, replace the gin in the recipe with vodka. Simple. Print With Image Without Image Honeysuckle Rose Gin & Tonic Yield: 2 Author: Jenn Erickson Prep time: 24 hour Cook time: 10 M Total time: 24 H & 10 M Fresh honeysuckle is used to infuse a lemon simple syrup as well as the gin (or vodka). The two come together with tonic and rose petals for a beautiful summertime cocktail. Ingredients: For the honeysuckle syrup 1 cup water 1 cup granulated sugar 2 cups rinsed honeysuckle flowers Zest of 1/2 a small lemon For the honeysuckle infused Gin or Vodka 6 ounces gin* or vodka 1 cup rinsed honeysuckle flowers For the cocktails 14 ounces tonic (keep it simple)* 6 ounces honeysu...
Inspired by the rich and legendary clam chowders of Old Fishermans Wharf in Monterey, California, this clam chowder is a culinary tour of our historic seaside town -- It's the salt air on your skin, the sound of the sea lions and gulls, the slow fog drifting across the bay, and the flavors of John Steinbeck's Cannery Row. I grew up on the Monterey Peninsula. What I looked forward to the most, when visiting the Wharf was getting a sample of clam chowder, getting a box of freshly made caramel corn from Carousel Candies, and then feeding the sea lions -- in that order. I was delighted to pass on the tradition of Monterey-style clam chowder to my students this past year, with this perfected version of a local recipe that was handed down to me and adapted for small-batch home cooking. It was such a hit with my students that it was requested, made and served all football season long at our school's concession stand. Now, I'm happy to share the recipe with everyone....