Featuring my thick and nuggy Chonky Boy Chocolate Chip Cookies, these ice cream sandwiches are the stuff that summer dreams are made of. If you've ever had the Cookie Ice Cream Sandwich at Disneyland , you are going to LOVE these! These big and bold chocolate chip cookies are based on a recipe from my culinary school studies at Auguste Escoffier, but with a few modifications to give them that Jennuine touch. They make the perfectas book for a fat slice of real vanilla bean ice cream. And those mini chips? You just gotta have that extra cronch! Thank goodness this recipe only makes 8 sandwiches, otherwise I would be eating them for breakfast lunch and dinner. This way, my big family can help save me from my inner child diet-saboteur. Print With Image Without Image Chonky Boy Chocolate Chip Cookie Ice Cream Sandwiches Yield: 8 Author: Jenn Erickson Loaded with chocolate chips and buttery, brown-sugary vanilla flavor, these mall-sized cookie...
Get link
Facebook
X
Pinterest
Email
Other Apps
What To Do With Left Over Easter Eggs: Make Spring Garden Deviled Eggs {RECIPE}
Get link
Facebook
X
Pinterest
Email
Other Apps
-
Do you love Deviled Eggs? Whether you're looking for a way to use up hard-boiled eggs after Easter, or want a simple, natural way to add color, flavor and beauty to this classic appetizer, this is a recipe you should try or pin for later.
Inspired by a project done by one of my advanced culinary students (Sofia Moore, class of 2020) for an art gallery show last year, these hard-boiled eggs get their color from beets. The eggs are not pickled, but rather bathed in the beet water to take on the color without affecting the flavor balance.
I love decorating with edible flowers. On the central California coast, where I live, there are an abundance of local blossoms that grow wild in yards and green areas at this time of year. Pictured below are some of my favorites that can be foraged in April.
The large flowers, Nasturtium, have a peppery flavor and are delicious, but I'm saving them for a different recipe.
Pictured below from left to right: Chickweed (leaves and tiny white blossoms are edible and taste like lettuce), Three-cornered leek blossoms (tastes like chives), Wild geranium blossoms (slightly peppery), Wild Sweet Peas & shoots (a very light sweet pea flavor).
Foraging etiquette and safety: When foraging for wild edibles, keep in mind that you should not forage on private property. Pick only what you need and can identify. Do not rip out the roots of the plant. Do not forage in an area frequented by animals or where pesticides are used. Wash all foraged items before use.
Spring Garden Deviled Eggs
Author: Jenn Erickson
Prep time: Cook time: Total time:
This is a beautiful and delicious way to dress-up traditional deviled eggs. The eggs get a lovely magenta hue from beets, but are not pickled, so the delicate flavor balance isn't compromised. The eggs are garnished with edible spring flowers.
Ingredients:
Large or Extra Large eggs (quantity is up to you)
1 large fresh beet, peeled an diced
White vinegar (just a splash or two)
For the filling: (all to taste) mayonnaise, mustard, cayenne, a pinch of sugar, salt, pepper and a splash of pickle juice
Edible flowers for garnish
Instructions:
Place your eggs in a large pot and cover with cold water. Add the diced fresh beet. (If your eggs are already hard-boiled, just add the beets to about 8 cups of water in a large pot. Leave the eggs aside).
Over high heat, bring the eggs & beets (or just the beets) to a boil. Once boiling, set timer for 10 minutes. In the meantime, prepare a large bowl of ice & cold water (ice bath) and set aside.
After 10 minutes, turn off the heat. Use a slotted spoon to transfer the eggs directly to the ice bath to cool. The beets can remain in the water. Do not drain the water -- this is your color bath.
When the eggs have cooled, peel and set aside.
When the color bath has cooled, transfer to a container and add a splash or two of white vinegar. Add the eggs (if you're using Easter eggs, this is when you should add the peeled eggs to the beet liquid). The beets should remain in the liquid also. Refrigerate overnight.
When ready to make the deviled eggs, remove the cooked beets to a jar with enough of the liquid to cover them. These will keep in the refrigerator for about a week and can be eaten with a salad or however you'd like.
Make deviled eggs. Feel free to use your own recipe. For mine, I cut the colored eggs in half and scooped the yolks into a bowl. I added mayonnaise, mustard, a pinch of sugar, salt, white pepper, and cayenne pepper to taste. My secret ingredient is a splash of pickle juice from the dill pickle jar. I whip my yolks and the other ingredients with an electric mixer until they are exceptionally light and fluffy. Taste, adjust, then fill the eggs. I piped mine using a pastry bag and open French star tip.
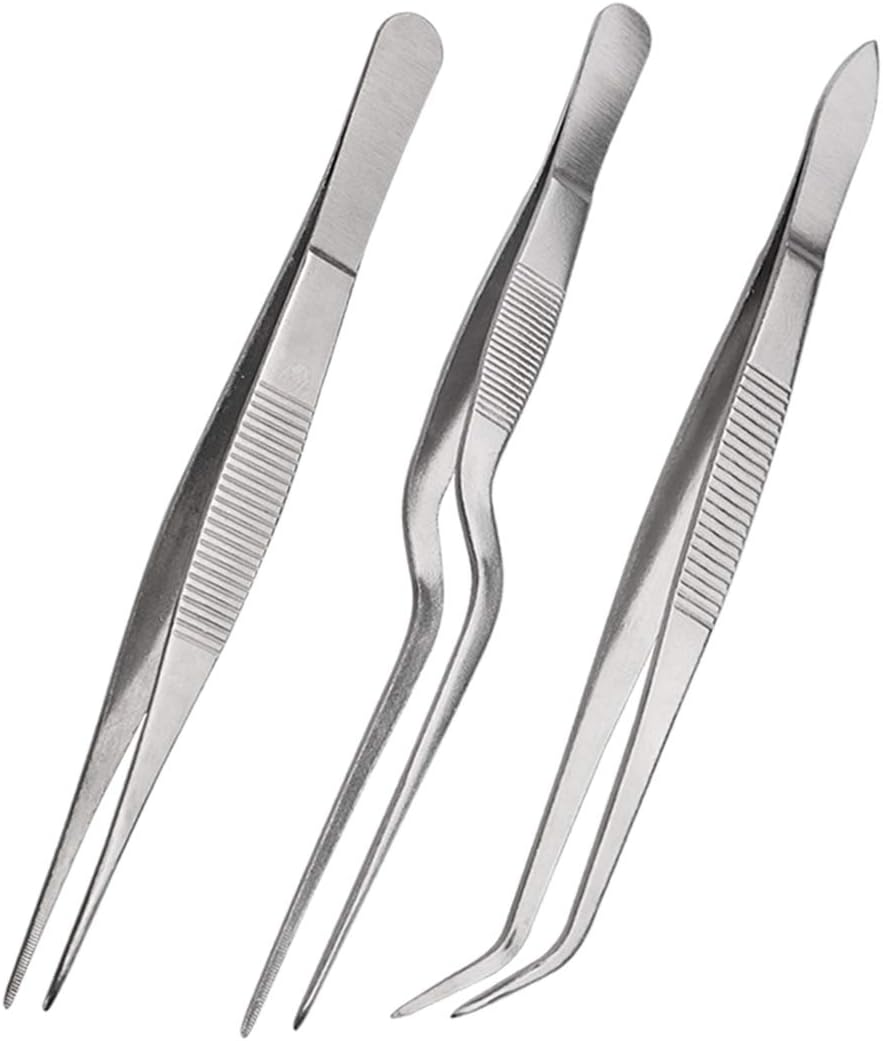
Decorate -- Now you get to be an artist with your tiny blossoms, leaves and shoots. Tweezers help here.
Step 1: Place your eggs in a large pot and cover with cold water. Add the diced fresh beet. (If your eggs are already hard-boiled, just add the beets to about 8 cups of water in a large pot. Leave the eggs aside).
Step 2: Over high heat, bring the eggs & beets (or just the beets) to a boil. Once boiling, set timer for 10 minutes. In the meantime, prepare a large bowl of ice & cold water (ice bath) and set aside.
Step 3: After 10 minutes, turn off the heat. Use a slotted spoon to transfer the eggs directly to the ice bath to cool. The beets can remain in the water. Do not drain the water -- this is your color bath.
Step 4: When the eggs have cooled, peel and set aside.
Step 5: When the color bath has cooled, transfer to a container and add a splash or two of white vinegar. Add the eggs (if you're using Easter eggs, this is when you should add the peeled eggs to the beet liquid). The beets should remain in the liquid also. Refrigerate overnight.
Step 6: When ready to make the deviled eggs, remove the cooked beets to a jar with enough of the liquid to cover them. These will keep in the refrigerator for about a week and can be eaten with a salad or however you'd like.
Step 7: Make deviled eggs. Feel free to use your own recipe. For mine, I cut the colored eggs in half and scooped the yolks into a bowl. I added mayonnaise, mustard, a pinch of sugar, salt, white pepper, and cayenne pepper to taste. My secret ingredient is a splash of pickle juice from the dill pickle jar. I whip my yolks and the other ingredients with an electric mixer until they are exceptionally light and fluffy. Taste, adjust, then fill the eggs. I piped mine using a pastry bag and open French star tip.
Step 8: Decorate -- Now you get to be an artist with your tiny blossoms, leaves and shoots. Tweezers help here.
How do they taste? That's up to you. If you balanced your flavors right, you should have an amazing looking and tasting deviled egg. But what about the flowers? The flowers should be used sparingly, should be fresh, and should add just a subtle little something to a perfectly prepared deviled egg.
I recall, as a child, going to The Chart House restaurant and looking forward to the basket of freshly baked breads. My favorite was always the dark brown, slightly sweet bread that the servers called "Squaw Bread". I've heard that a similar bread is served at The Cheesecake Factory. The name has gone out of fashion, since "squaw" is a derogatory term for a Native American woman. The history of this bread can in fact trace its roots to Native American origins when German pioneers combined their traditional German Brown Bread recipe with ingredients available to them through trades with the native people during their westward travels. No matter how you slice it, this New World German Brown Bread is easy to bake and so wonderfully delicious to eat. Print With Image Without Image New World German Brown Bread Yield: 1 large loaf Author: Jenn Erickson Prep time: 1 H & 50 M Cook time: 45 M Total time: 1 ...
Here's to Summer with a perfect cocktail to toast the end of the school year -- A Honeysuckle Rose Gin & Tonic. A touch of homemade honeysuckle-lemon simple syrup and honeysuckle infused gin (or vodka if you prefer) make for a delightful twist on the classic! If you prefer a vodka tonic, replace the gin in the recipe with vodka. Simple. Print With Image Without Image Honeysuckle Rose Gin & Tonic Yield: 2 Author: Jenn Erickson Prep time: 24 hour Cook time: 10 M Total time: 24 H & 10 M Fresh honeysuckle is used to infuse a lemon simple syrup as well as the gin (or vodka). The two come together with tonic and rose petals for a beautiful summertime cocktail. Ingredients: For the honeysuckle syrup 1 cup water 1 cup granulated sugar 2 cups rinsed honeysuckle flowers Zest of 1/2 a small lemon For the honeysuckle infused Gin or Vodka 6 ounces gin* or vodka 1 cup rinsed honeysuckle flowers For the cocktails 14 ounces tonic (keep it simple)* 6 ounces honeysu...
Inspired by the rich and legendary clam chowders of Old Fishermans Wharf in Monterey, California, this clam chowder is a culinary tour of our historic seaside town -- It's the salt air on your skin, the sound of the sea lions and gulls, the slow fog drifting across the bay, and the flavors of John Steinbeck's Cannery Row. I grew up on the Monterey Peninsula. What I looked forward to the most, when visiting the Wharf was getting a sample of clam chowder, getting a box of freshly made caramel corn from Carousel Candies, and then feeding the sea lions -- in that order. I was delighted to pass on the tradition of Monterey-style clam chowder to my students this past year, with this perfected version of a local recipe that was handed down to me and adapted for small-batch home cooking. It was such a hit with my students that it was requested, made and served all football season long at our school's concession stand. Now, I'm happy to share the recipe with everyone....